How to Create a WordPress Staging Site Manually in cPanel
If your host doesn't give you a one-click staging tool, you can still create a WordPress staging site in cPanel by hand. You'll end up with a private, password-protected copy at staging.example.com for testing updates, themes and plugins. Nothing on the live site gets edited: on live, you only download backups and copy files out. You'll need File Manager and phpMyAdmin; Terminal or SSH access helps.
If your host includes WP Toolkit with its Clone feature, that's quicker. This guide is for when it isn't available.
Menu labels differ between cPanel versions and host themes. This guide uses the labels in the current cPanel documentation, so yours may differ slightly.
Step 1. Back up the live site first
In cPanel, open Files > Backup. Click "Download a Home Directory Backup", then under "Download a Database Backup" click your site's database (the DB_NAME value in your live wp-config.php). Save both files off the server.
Keep the database file (it ends in .sql.gz). Step 4 imports it into staging, so you never export anything from live.
These separate downloads are more useful here than the full account backup, which you can't restore from cPanel itself. Backups may fail if your account is near its disk quota, and some hosts replace this screen with their own tool.
Step 2. Create the staging subdomain
Staging needs its own folder on the server, called a document root. Open Domains and click "Create a New Domain". Older tutorials use a separate "Subdomains" screen instead.
- In the "Domain" box, type staging.example.com (with your own domain).
- Leave "Share document root" unticked.
- Keep the auto-filled "Document Root (File System Location)", as cPanel's docs recommend, and write down the path.
- Click "Submit".
Warning: if you tick "Share document root", staging serves the live site's files, so every change on "staging" is a change to live. The choice is also permanent.
The document root often sits inside public_html, for example public_html/staging.example.com; whether it can sit outside is a server setting only your host controls. New DNS records can take two days or more to reach every nameserver.
Step 3. Copy the WordPress files
Open File Manager, click "Settings", tick "Show Hidden Files (dotfiles)" and save, or .htaccess gets left behind.
In public_html, select WordPress's files and folders: wp-admin, wp-content, wp-includes, root files such as wp-config.php and index.php, and .htaccess.
Warning: if the staging folder sits inside public_html, don't select it, or you'll copy it into itself.
Then pick one route:
- Smaller sites: click "Copy", enter the staging document root as the destination, and confirm with "Copy File(s)".
- Large sites: "Compress" the selection into a .zip, move it into the staging folder, "Extract" it there, then delete the archive.
If you compressed, make sure no archive is left in public_html.
Step 4. Create the staging database and import a copy
Open Databases > MySQL Database Wizard:
- Type a name in "New Database" (for example, staging) and click "Next Step".
- Enter a "Username", generate a strong password, and click "Create User".
- Tick "ALL PRIVILEGES" and click "Next Step".
Write down the full names. If your host uses prefixing, cPanel adds your username and an underscore, so "staging" becomes something like cpuser_staging. Those prefixed names go into wp-config.php.
In phpMyAdmin, click the new, empty staging database in the left panel, open the Import tab and upload the .sql.gz file from Step 1. No need to unzip it (phpMyAdmin docs).
Warning: check the selected database name before importing. Importing into your live database would overwrite it.
If a large import hits PHP upload or memory limits, ask your host to raise them, use source filename.sql; from the MySQL command line if you have shell access, or split the dump with a tool such as BigDump.
Step 5. Edit the staging wp-config.php
In File Manager, edit the wp-config.php inside the staging folder.
Warning: don't edit the one in the public_html root; that changes your live site.
Change the database lines to the prefixed values from Step 4:
define( 'DB_NAME', 'cpuser_staging' );
define( 'DB_USER', 'cpuser_stageuser' );
define( 'DB_PASSWORD', 'your-generated-password' );
// Leave DB_HOST and $table_prefix exactly as they were copied from live.
$table_prefix = 'wp_'; // example only: keep whatever value is already there
$table_prefix must match the imported tables, whose prefix may not be "wp_" (Editing wp-config.php). DB_HOST usually stays the same as live, but that isn't guaranteed; check with your host if the connection fails.
Optionally, tell WordPress this is a staging site (WordPress 5.5 and later). Some plugins read this, but it doesn't hide or lock anything:
define( 'WP_ENVIRONMENT_TYPE', 'staging' );
Step 6. Replace the live URLs safely
Your staging database still says https://example.com everywhere, and how you change that matters.
WordPress stores some data, such as theme and widget settings, in serialized form, which records each string's length. "example.com" and "staging.example.com" differ in length, so a plain find-and-replace in the SQL file or a text editor leaves the wrong lengths behind, and those settings break.
And never change the GUID column: WordPress's docs say "under any circumstances".
Use one of these options, best first.
Option A: WP-CLI (if you have SSH or Terminal)
cPanel's Terminal only appears if your host has given you shell access, and whether the wp command is installed is also up to your host. wp search-replace handles serialized data safely. Run it from the staging folder, first with --dry-run to see what would change, then for real:
cd ~/public_html/staging.example.com   # use your own path from Step 2
wp search-replace 'https://example.com' 'https://staging.example.com' --skip-columns=guid --dry-run
wp search-replace 'https://example.com' 'https://staging.example.com' --skip-columns=guid
Match your live URL exactly, including www if it has it. --skip-columns=guid leaves the GUID column alone. Add --all-tables if plugins use tables without your WordPress prefix; by default only WordPress's registered tables are searched.
Option B: Search Replace DB
interconnect/it's Search Replace DB script handles serialized strings and offers a safe test run; do that first. WordPress's docs list it as a third-party script best used by experienced developers.
Warning: delete the script immediately after use. Its makers say leaving it on a server can be a security risk.
Option C: the minimum (siteurl and home)
If neither tool is available, open the staging database's options table in phpMyAdmin (wp_options, or your own prefix) and set siteurl and home to https://staging.example.com. Or set them in the staging wp-config.php, which overrides the database values without changing them:
define( 'WP_HOME', 'https://staging.example.com' );
define( 'WP_SITEURL', 'https://staging.example.com' );
Either way, post links, image URLs and widget data still point to live, so clicking around staging can land you on the live site, where you might edit something by mistake.
Warning: WordPress's own "change your domain" guide starts by changing the URLs in the old site's Settings > General. Don't do that here; change only the staging copy.
Step 7. Add SSL to the subdomain
cPanel's AutoSSL (Let's Encrypt by default on new installations) issues free certificates for subdomains that pass a domain-control validation check (Guide to SSL). The subdomain's DNS must resolve first.
Go to Security > SSL/TLS Status. If staging isn't covered yet, run AutoSSL by hand there. Older cPanel versions label the button "Run AutoSSL"; yours may differ.
Do this before Step 8, as a precaution rather than a documented requirement.
Step 8. Keep staging private and out of search
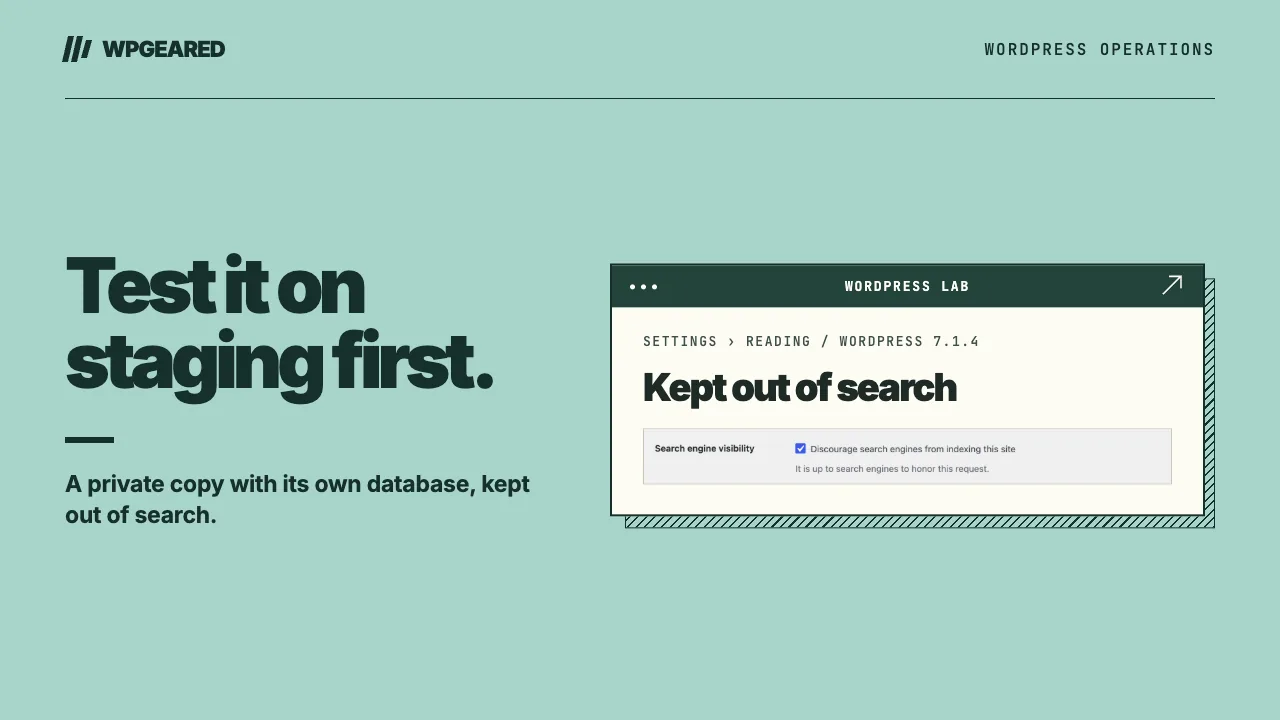
Log in at https://staging.example.com/wp-admin with your live username and password (the user table was copied too). Go to Settings > Reading and tick "Discourage search engines from indexing this site". That adds a noindex tag but doesn't block access; it's up to search engines to honor it (Reading Settings docs).
Google says password protection is what keeps content out of its search results (Google Search Central). So add one with cPanel's Directory Privacy:
- Open Files > Directory Privacy and click the staging folder.
- Tick "Password protect this directory", fill in "Enter a name for the protected directory", and click "Save".
- Add a user with a "Username" and password, then click "Save".
This protects web access only, not FTP or SFTP, and cPanel writes the rules into the staging folder's .htaccess.
Warning: staging can still send real emails and run scheduled jobs, so be careful with order, form and newsletter plugins. WooCommerce Subscriptions only switches to its staging mode once siteurl differs from the original, one more reason to finish Step 6.
Step 9. Push changes back to live safely
Warning: don't import the staging database over the live one. Anything created on live since you made the copy, such as orders, comments, new users and form entries, would be lost.
Instead:
- Take a fresh backup of live, as in Step 1.
- Copy only the theme or plugin folders you changed from staging's wp-content to live's.
- Redo any settings changes by hand in the live dashboard.
Never copy the staging .htaccess (it holds the Directory Privacy rules) or wp-config.php (it points at the staging database) to live. If database data ever moves to live, recheck Settings > Reading there: the "Discourage search engines" setting is stored in the database and can travel with it.
WP Toolkit handles this step by copying only the tables you choose, after creating a restore point.
Troubleshooting
Staging redirects to the live site
Check that siteurl and home were changed in the staging database, then clear your browser and caching-plugin caches. If it still redirects and your staging folder sits inside public_html, live's .htaccess is a likely cause: Apache applies .htaccess rules from parent folders, so redirect, force-HTTPS or force-www rules in public_html/.htaccess can catch staging requests (Apache docs). Ask your host how to exclude the staging subdomain.
"Error establishing a database connection"
This usually means an error in wp-config.php (Common WordPress Errors). Check DB_NAME, DB_USER and DB_PASSWORD in the staging file. On cPanel, the usual culprits are a missing account prefix (staging instead of cpuser_staging) or a user never added to the database with privileges.
Images or links point to the live site
You probably changed only siteurl and home. Run a full serialized-safe replace with Option A or B, and check the protocol: if live uses https, searching for http://example.com won't match those links.
Creating a WordPress staging site in cPanel, in short
Back up first, give staging its own document root, replace URLs with a serialized-safe tool, and lock it with a password. If your host offers WP Toolkit, its Clone feature does most of this.